The great Witchdoctor Podcast Gear Guide! If you’ve ever looked at creating your own podcasts, there’s a tonne of gear and apps that can make everything so much easier. I’d been playing around with the idea of creating an audio podcast for a while, so when both Sennheiser and JBL sent me two mics to try out, everything fell into place.
Podcasts can be a great way to connect with an audience. Spotify hosts them, and so do Apple and Amazon Music. If you’ve got a podcast hankering, you don’t need to invest the GDP of a developing nation to do it.
Sennheiser’s MKE 400 mic kit ($392) and a smartphone could be just what you need to get up and running.
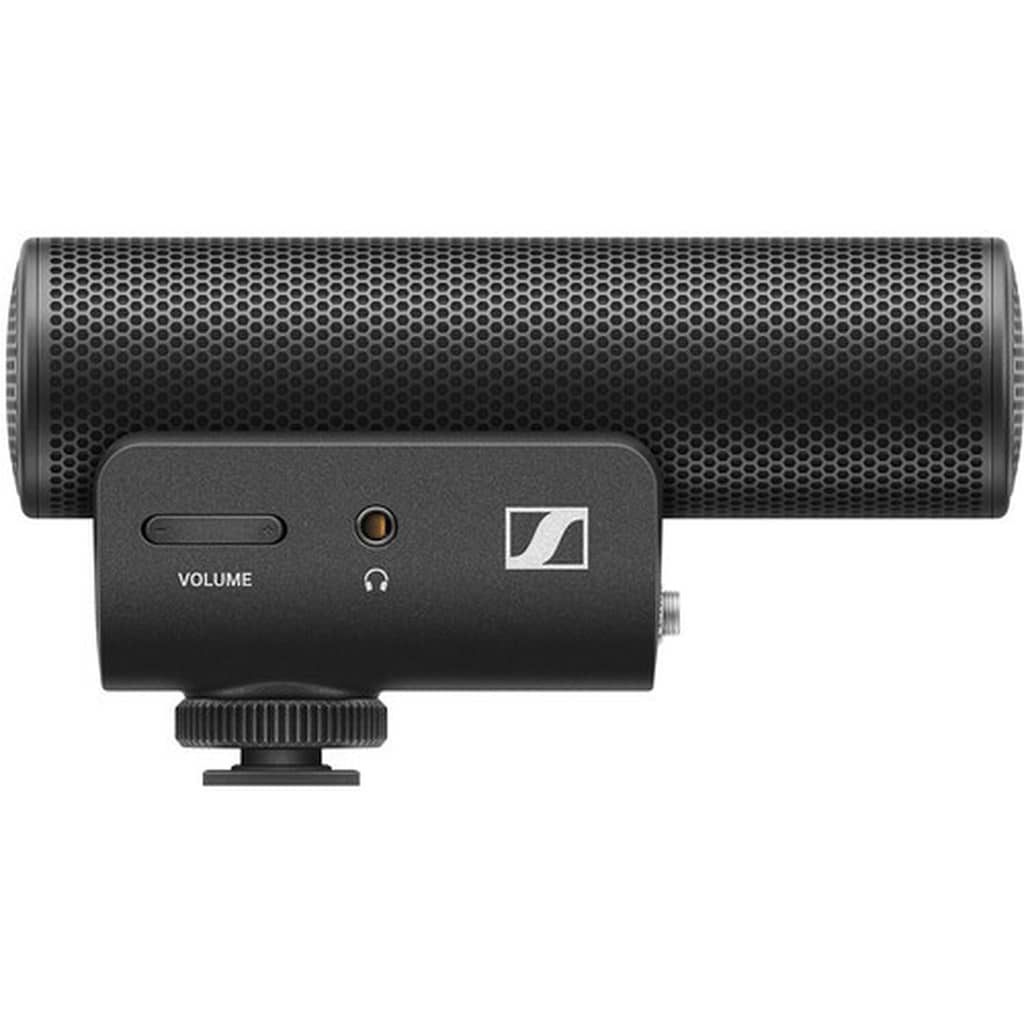
It consists of a shotgun microphone that’ll work with cameras and smartphones. As a shotgun mic, it has a highly directional recording pattern. In non-geek-speak, it rejects audio from the sides and back, making it perfect for grabbing clear audio from anyone in front of the microphone, even in challenging non-studio environments. If event-based interviews or street vox pops are part of your podcast plans, the MKE 400 could be just what the good Witchdoctor ordered.
It weighs in at a featherlight 90.7g and features a long tubular design. It connects to a camera using a cold-shoe mount and to a smartphone via a 3.5mm audio jack (unfortunately, you’re out of luck if your phone doesn’t have one of those). The super-cardioid condenser mic is housed inside a shockproof grille and mount. It can capture audio in the 50Hz to 20khz range. Sennheiser also includes a furry windshield that slides over the grille.
The whole set-up mounts using a universal clamp that will fit most phones. For sit-down interviews where you’ll want to minimise movement and related noise/audio variations, Sennheiser also bundles a small tripod.
On the left of the mic’s base is a power button, a green indicator LED, and a low-cut filter switch (which can be handy for reducing wind noise in outdoor recordings). There’s also a three-position switch for gain. The gain ranges from -20dB, 0dB and 20 dB. These are most likely useful in interview scenarios with background noise.
A gain dial would have allowed for a more tweakable approach than just three gain settings. Given the lack of integrated DSP to smooth out audio peaks, the lack of flexible gain adjustments makes careful mic positioning a must. On a positive note, you also get an earphone socket for audio monitoring. In use, I found it only works when recording. The MKE 400 uses two AAA batteries which should deliver around 100 hours of use.
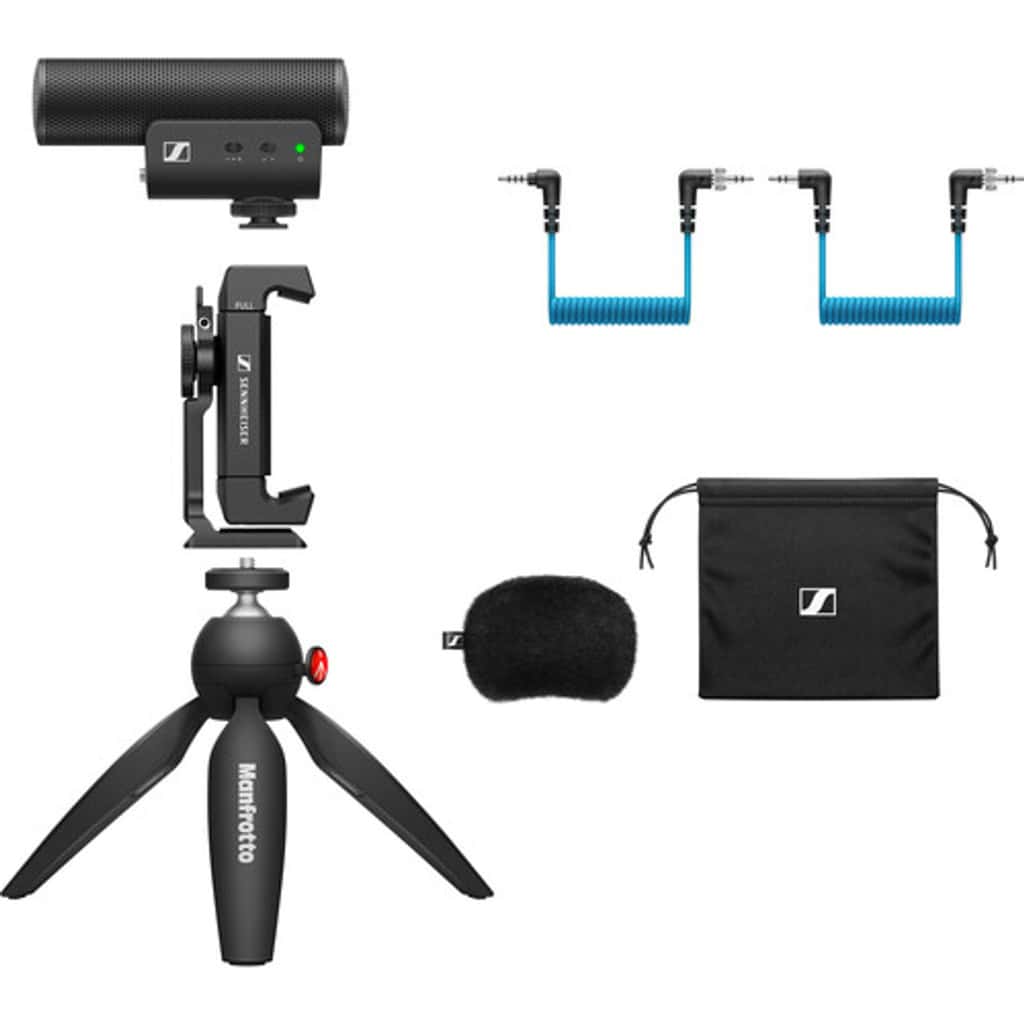
Testing the Mic outdoors in Wellington’s windy environment showed the MK 400 can capture focused and crisp audio with little to no wind noise. The low pass filter and gain controls also proved handy for dealing with traffic noise and the odd plane flying overhead. The shock grille did a solid job of minimising wind interference, which was further helped by the furry windshield thingamajig.
For in-studio podcast audio, JBL’s Quantum Stream Mic ($159.95) is a USB-connected stand mic that manages to sound good, has plenty of features, and can be set up by almost anyone, regardless of their level of audio know-how. Price-wise, the Quantum Stream strikes a good balance between price and functionality, making it a good choice for anyone considering an in-studio podcast set-up.
JBL decided to stick to the keep-it-simple school of design. Finished in a matte black plastic with an aluminium grille over the mic capsule, its minimalist design has a JBL logo, a dial on its front, and a mute mic button on its top. The dial may look sparse, but it’s a multi-function doodah that can adjust headphone/mic volume levels and switch polar patterns.
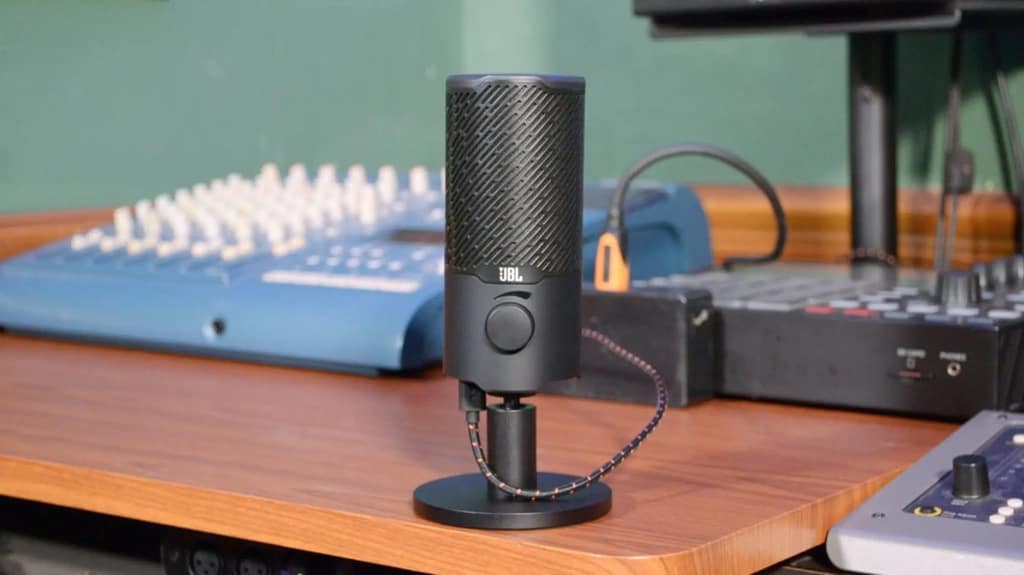
One neat design flourish I was taken with is the RGB on the mic’s bottom edge. It changes colour and brightness depending on what you’re doing, making everything more intuitive. When the mic is muted, the ring glows red. Press the dial, and it changes to purple, showing that you’re tweaking the mic’s volume. It brightens and dims depending on the volume level.
Minimising cable clutter sees the USB-C port and headphone jack underneath the mic. It can be a fiddly process connecting headphones with a chunky jack. The stand fits on a boom or even a camera tripod. A ball joint also allows the mic to tilt up to 30 degrees, which greatly extends its versatility.
Its full 20-20kHz audio range captured my voice clearly, capturing crisp audio with full tonality. As with the Sennheiser MK400, proximity makes a difference but can be improved by switching to omnidirectional mode (the downside is that it’ll capture more background noise in this mode). While there wasn’t a lot of background noise rejection, its omnidirectional mode did record audio evenly on both sides of the mic, making it great for two-person podcasts
While the multi-function dial gives you many tweaking options, more are available to PC owners via JBL’s QuantumEngine app. Adjusting mic levels and tweaking audio via a 5-band EQ (and five pre-sets) is an insanely useful addition.
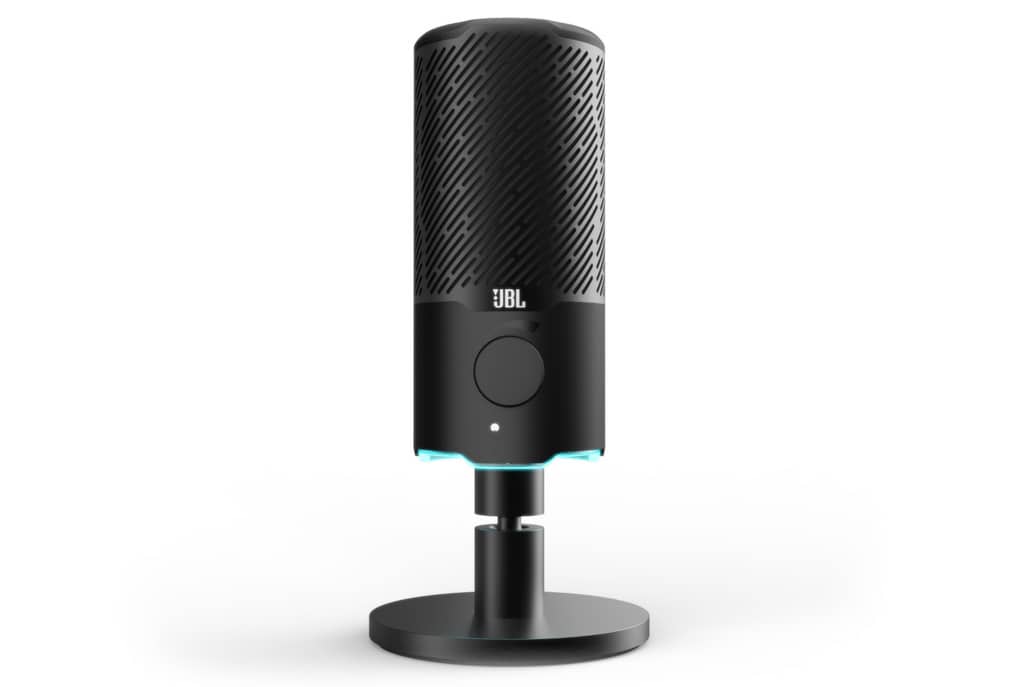
Given its reasonable sticker price, ease of use and solid audio, the JBL Quantum Stream is a great addition for anyone wanting to create in-studio podcasts.
If you’ve got a voice for silent film, crafting your own audio podcasts might seem impossible, but believe me, thanks to the wonders of AI, it isn’t impossible. If you can write a half-decent script and are prepared to cough up a subscription, Murph (www.murph.ai), an AI text-to-voice service, will do most of the heavy lifting. Murph offers a free (but very limited) try-out option and supports many languages and professional-sounding male and female voice models. When paired with a good script, your podcast can sound super slick.

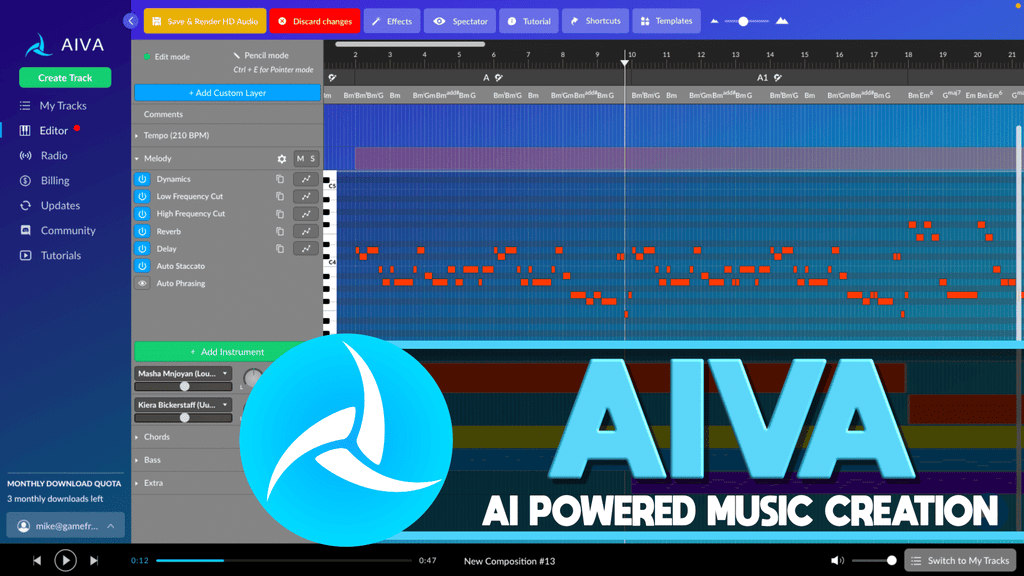
A good podcast should start with a catchy intro tune to kick things off. Getting your own jingle can avoid copyright infringement or awful generic clipart audio. Aiva is an AI service that lets you craft original music compositions with just a few mouse clicks. Choose the genre and duration and click go and voila! Your original piece of music is perfect for kicking off your podcast!
Now you are almost there. Craft a catchy logo to give your podcast a unique look and feel. Logomaster.ai will generate a slick-looking logo after asking you some simple questions.
By now, you should have a voice, theme music and a professional look and feel. Next, you’ll need to splice your jingle and podcast audio into a neat audio file. The go-to for PC/Mac/Linux audio editing has long been Audacity. It’s an easy-to-use freeware app that, with a bit of practice, will soon have you cranking out super slick-sounding podcasts by the boatload.
The final piece of the puzzle involves uploading and promoting your podcast so it’ll get its own audience. Services such as Apple, Spotify or Amazon Music are all designed to make uploading, promoting and tracking your audience about as easy as falling off a log.


