Summary
The Cricut Maker 3 REVIEW
Witchdoctor’s gadget man PAT PILCHER turns over a new leaf and gets his craft on when the addictive power of Cricut takes hold.
$768

 You probably already know someone who has caught the Cricut bug. We’re not talking about yet another Covid variant, but a computer connected widget that draws and cuts patterns on cardboard, paper and vinyl, fabric, leather, wood – even aluminium. You can engrave and make origami cards, T-shirts, stickers, mugs. In fact, the possibilities are almost endless.
Would you like to support our mission to bring intelligence, insight and great writing to entertainment journalism? Help to pay for the coffee that keeps our brains working and fingers typing just for you. Witchdoctor, entertainment for grownups. Your one-off (or monthly) $5 or $10 donation will support Witchdoctor.co.nz. and help us keep producing quality content. It’s really easy to donate, just click the ‘Become a supporter’ button below.
Looks-wise, the Maker 3 resembles the lovechild of an old-school dot-matrix printer and inkjet. It’s wide at 558.8mm x 165.1mm, so you’ll need to free up some computer desk real-estate. Its glossy, slightly rounded body has two small trays on the left, which are useful for holding tools. There’s also a small control panel on the right that has Power, Start, and Load buttons.
 When I was initially told about the Cricut, I had to admit I was momentarily baffled and unsure what it’d ever be useful for. Now, four weeks in, I’ve got the Cricut addiction from hell and have been cranking out all sorts of nifty stuff. I’ve found with the Cricut that the only limit to what you can do with it is your imagination.
Getting set up was surprisingly easy. I connected the Cricut to my PC using the provided USB cable (you can also pair it via Bluetooth to a smartphone, PC or Mac). I then installed the Cricut Design Space app (Windows/Mac/Android/iOS).
It’s a design suite with access to a massive array of user-created projects and pictures. While many projects and images are free, some must be purchased. You can also subscribe to Cricut Access (the first month is free, then $14.99NZD per month, or $149.99 annually). You get access to over 150,000 pictures and patterns plus discounts on Cricut accessories and materials.
 A key selling point with Cricut is its massive user community. YouTube, Facebook, Instagram, and every other social media channel you can point a stick at are chocka-block full of Cricut tutorials and design ideas. If you have a question, are looking for inspiration or have a problem that needs solving, the Cricut community has you covered.
I started with a simple pre-made project in Cricut Design Space. Thanks to step-by-step instructions and lists of what I’d need, it was incredibly easy. Everything was also pre-set for the Maker 3. Once I’d done my research, I pootled about with Design Space, clicked the Continue button, and everything went like clockwork.
Soon I graduated to designing my own projects. While it seemed initially daunting, fantastic YouTube tutorials from other Cricut users greatly simplified the entire process, and Cricut makes cranking out cool stuff as effortless and intuitive as possible. The Cricut Design Space app comes with an improbable number of templates and a huge library of pictures/text fonts. I found I could also import BMP, DXF, GIF, JPG, PNG, and SVG images and make my own.
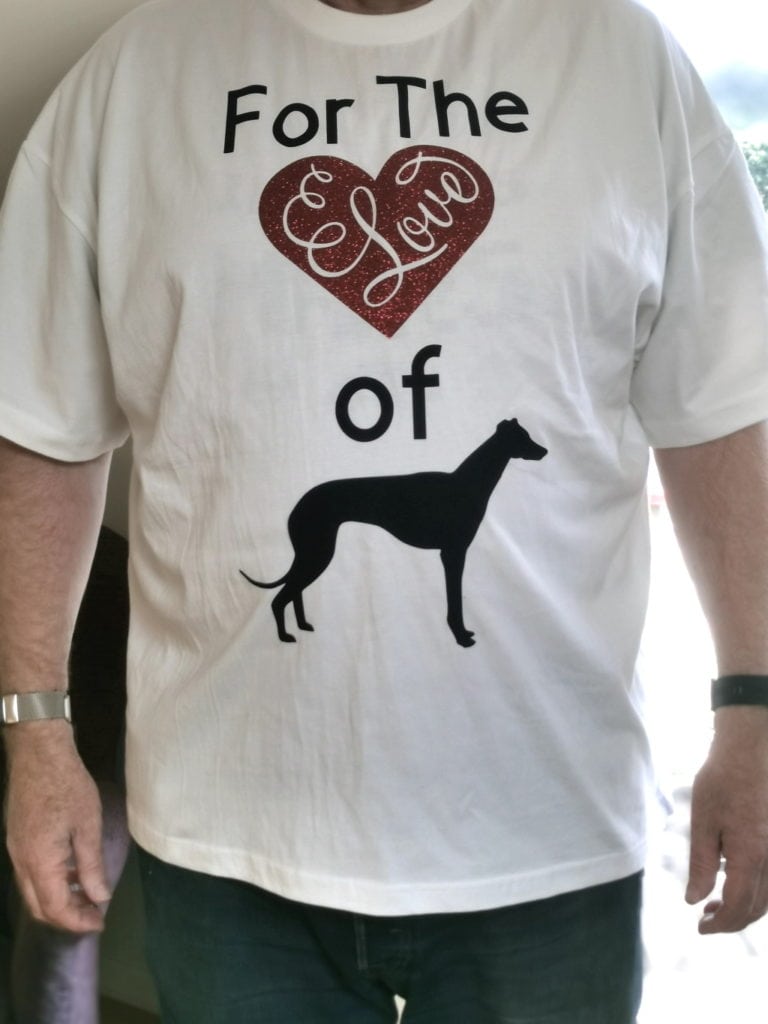
In what little spare time I have, I am involved with a Facebook greyhound group, so I decided that I’d have a go at making a T-Shirt to promote the group. I picked up a plain white T-shirt and got some red glitter and plain black Cricut smart iron-on transfer vinyl (which are carried by Spotlight stores in NZ). I got to work.
Creating the T-Shirt design took hardly any time at all. Before I knew it, I was feeding smart iron-on vinyl into the Cricut machine as it whirred away and cut out the transfers. I used a small pointy weeding tool to remove the parts of the vinyl transfer I wasn’t needing. I then popped over to the online Cricut Heat Guide, which provided step by step instructions for ironing my custom-made transfers onto the T-Shirt. The results were impressive. The finished T-shirt could easily pass for something commercially made. Best of all, the entire undertaking was effortless.
Emboldened by my successes with T-shirts, I had a go at making custom coffee mugs. The process is similar to T-shirt transfers, except I used infusible ink strips designed to wrap around Cricut-supplied blank mugs.
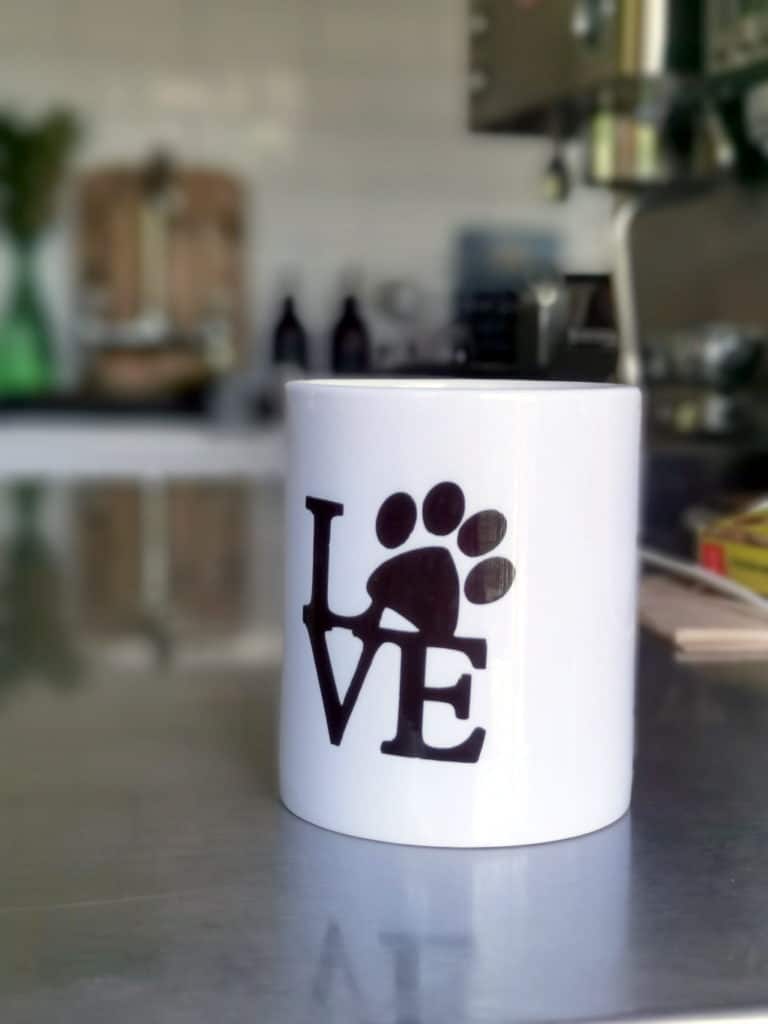
Creating my design was again dead simple using Cricut Mug design space templates. After completing it, I mirrored it, so it’d be the right way when it was transferred onto the mug. Once the design was cut out of the infusible ink strip, I removed the bits I didn’t want on the mug and wrapped the infusible ink strip around the mug. I then inserted the mug into Cricut’s Mug Press which heated the infusible ink onto the mug’s ceramic.
While the infusible heat strips look dull, the end results are super vivid. As the ink is infused into the mug’s ceramic, they are also dishwasher and microwave safe. The end results look slick, like something you’d normally pay for. Now I’ve got a deep point cutting tool, my next project will probably involve wood cutting. Sky’s the limit!
Having spent a month with the Cricut Maker 3, I’m utterly hooked. It’s a powerful widget that can take totally un-crafty folk such as yours truly, and have them knocking out commercial quality designs in no time flat.
It might cost $768, but that’s a reasonable price considering its sheer versatility. While you also need to factor in the cost of additional materials, you get an incredible amount of flexibility. Given the sheer amount of creative fun I’ve had with the Cricut Maker 3 and Mug Press, I’m scoring them an easy 10/10.


